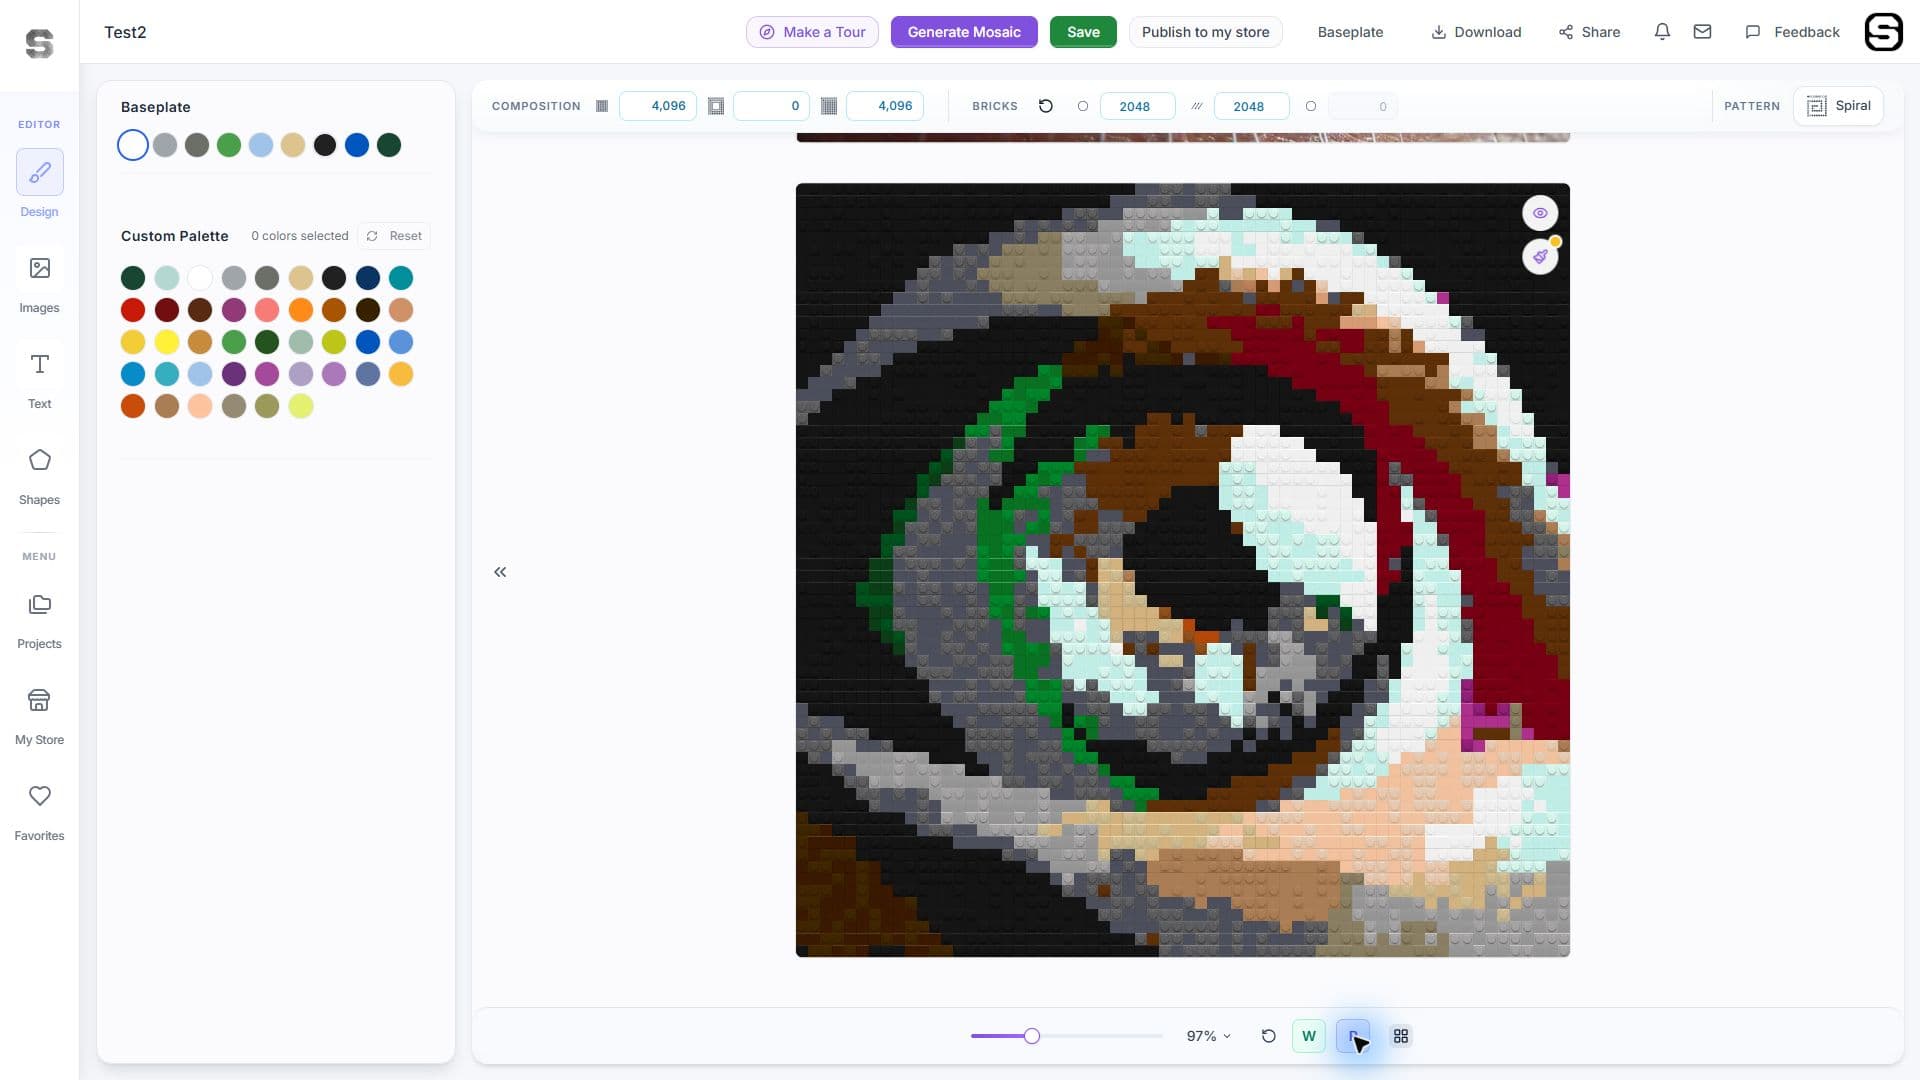
To turn a photo into a brick mosaic, choose a clear subject, crop it to the space you want to build, generate a preview and refine the features that make it recognizable. The best result usually comes from a few deliberate choices rather than a single click.
This guide follows that workflow in Sozaik Studio. Here, a photo mosaic means an image represented by colored bricks, not a collage made from many smaller photographs.
1. Choose the feature the mosaic must preserve
Start with one focal point: a face, a pet’s head, an architectural outline or a simple object. Decide what the viewer must recognize. For a portrait, that may be the expression. For a dog, it may be the ears and face shape.
Look at your reference as a small thumbnail. If its subject is already difficult to read, try a closer crop or a different photo. High file resolution cannot compensate for a subject that occupies only a tiny part of the final grid.
2. Import the image and settle the crop
Use the Images section of the Studio to add your reference. Position it so the important features have room in the composition. Keep enough of the outline to make the subject recognizable, but remove background that does not help.
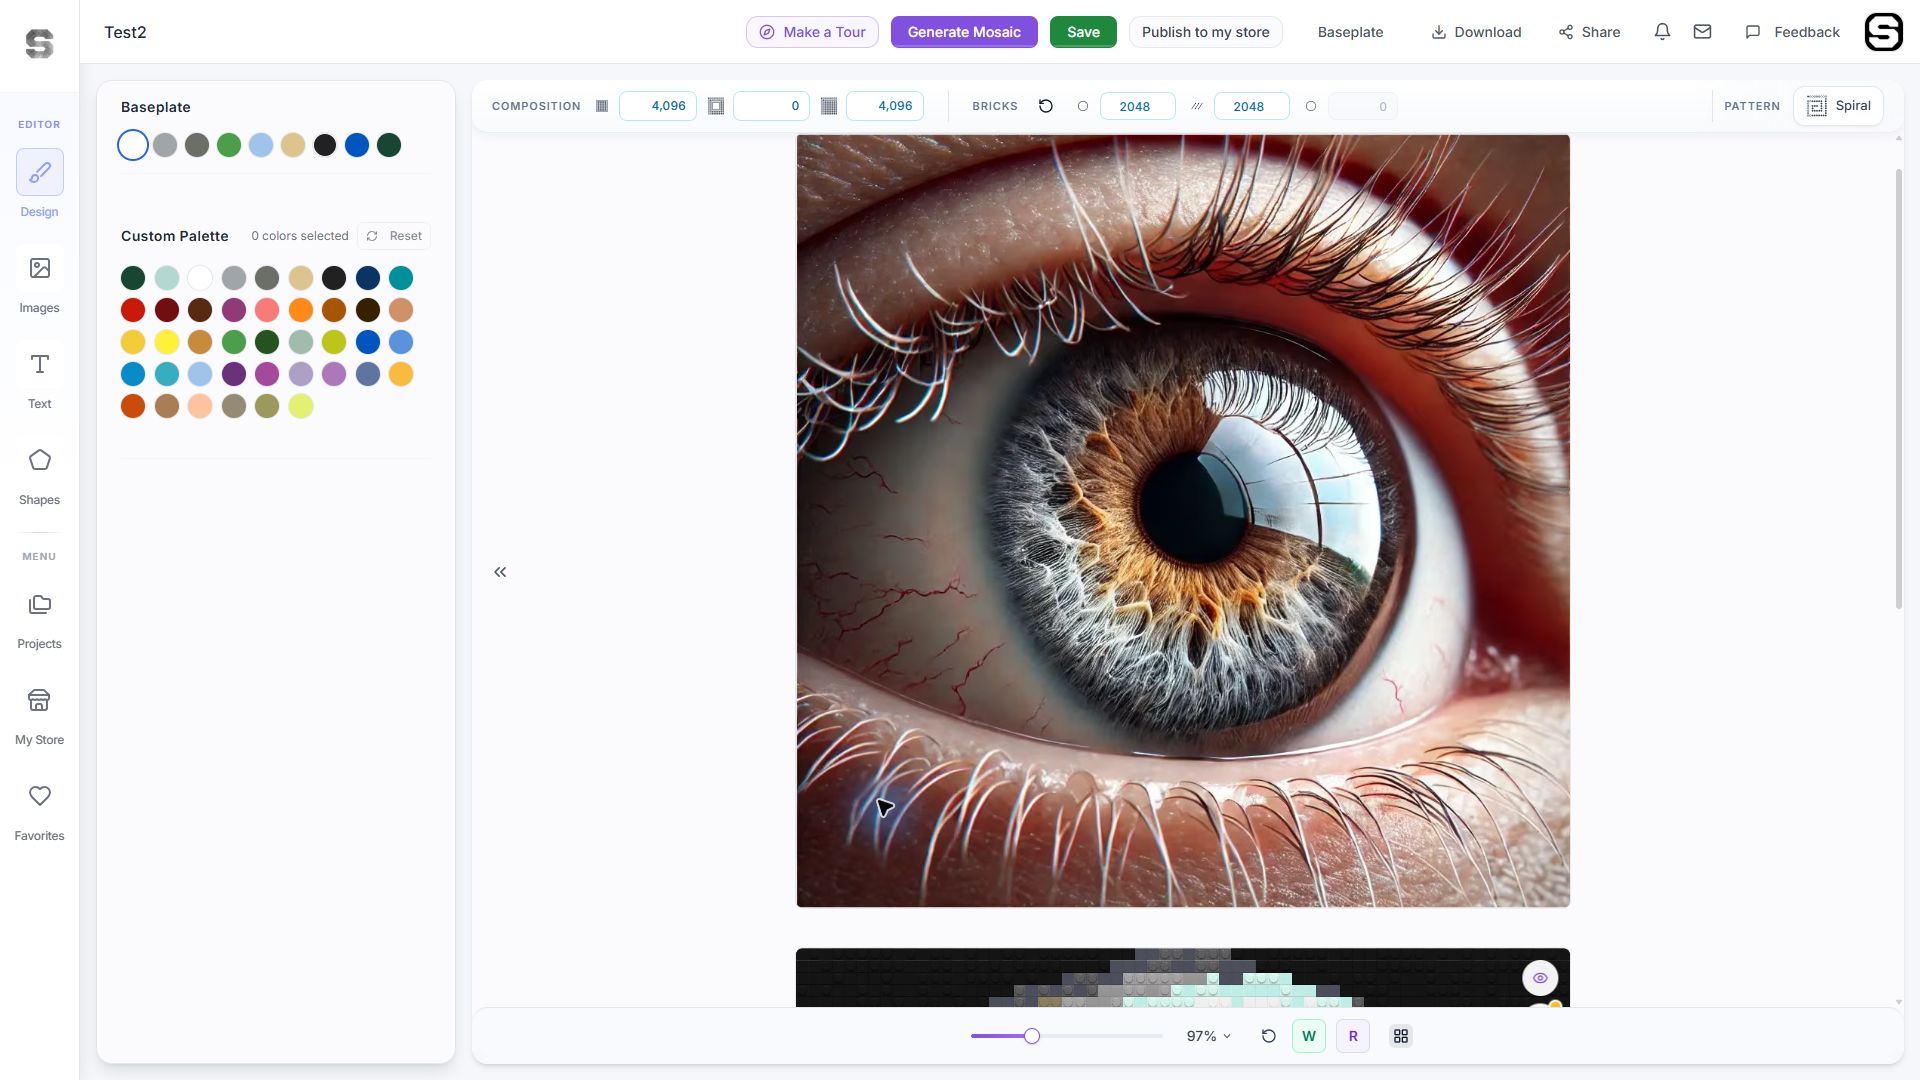
In this example, the eye is already the dominant subject. A wider face image would allocate fewer grid positions to the same iris. Cropping changes how much of your available detail goes to the part you care about.
3. Choose a grid you can realistically use
The grid sets the amount of space available to describe the image. A 64 × 64 grid has 4,096 positions. That is a capacity calculation, not a promise that every project will use 4,096 image bricks: transparency and design choices can affect the composition.
Think about the eventual display and build before increasing the format. A larger grid gives small features more room, but it also increases the potential number of pieces and the work of assembly.
4. Generate, then inspect the image at two distances
Choose your palette and brick balance, then use Generate Mosaic. Let the first preview answer a simple question: is the subject still recognizable?
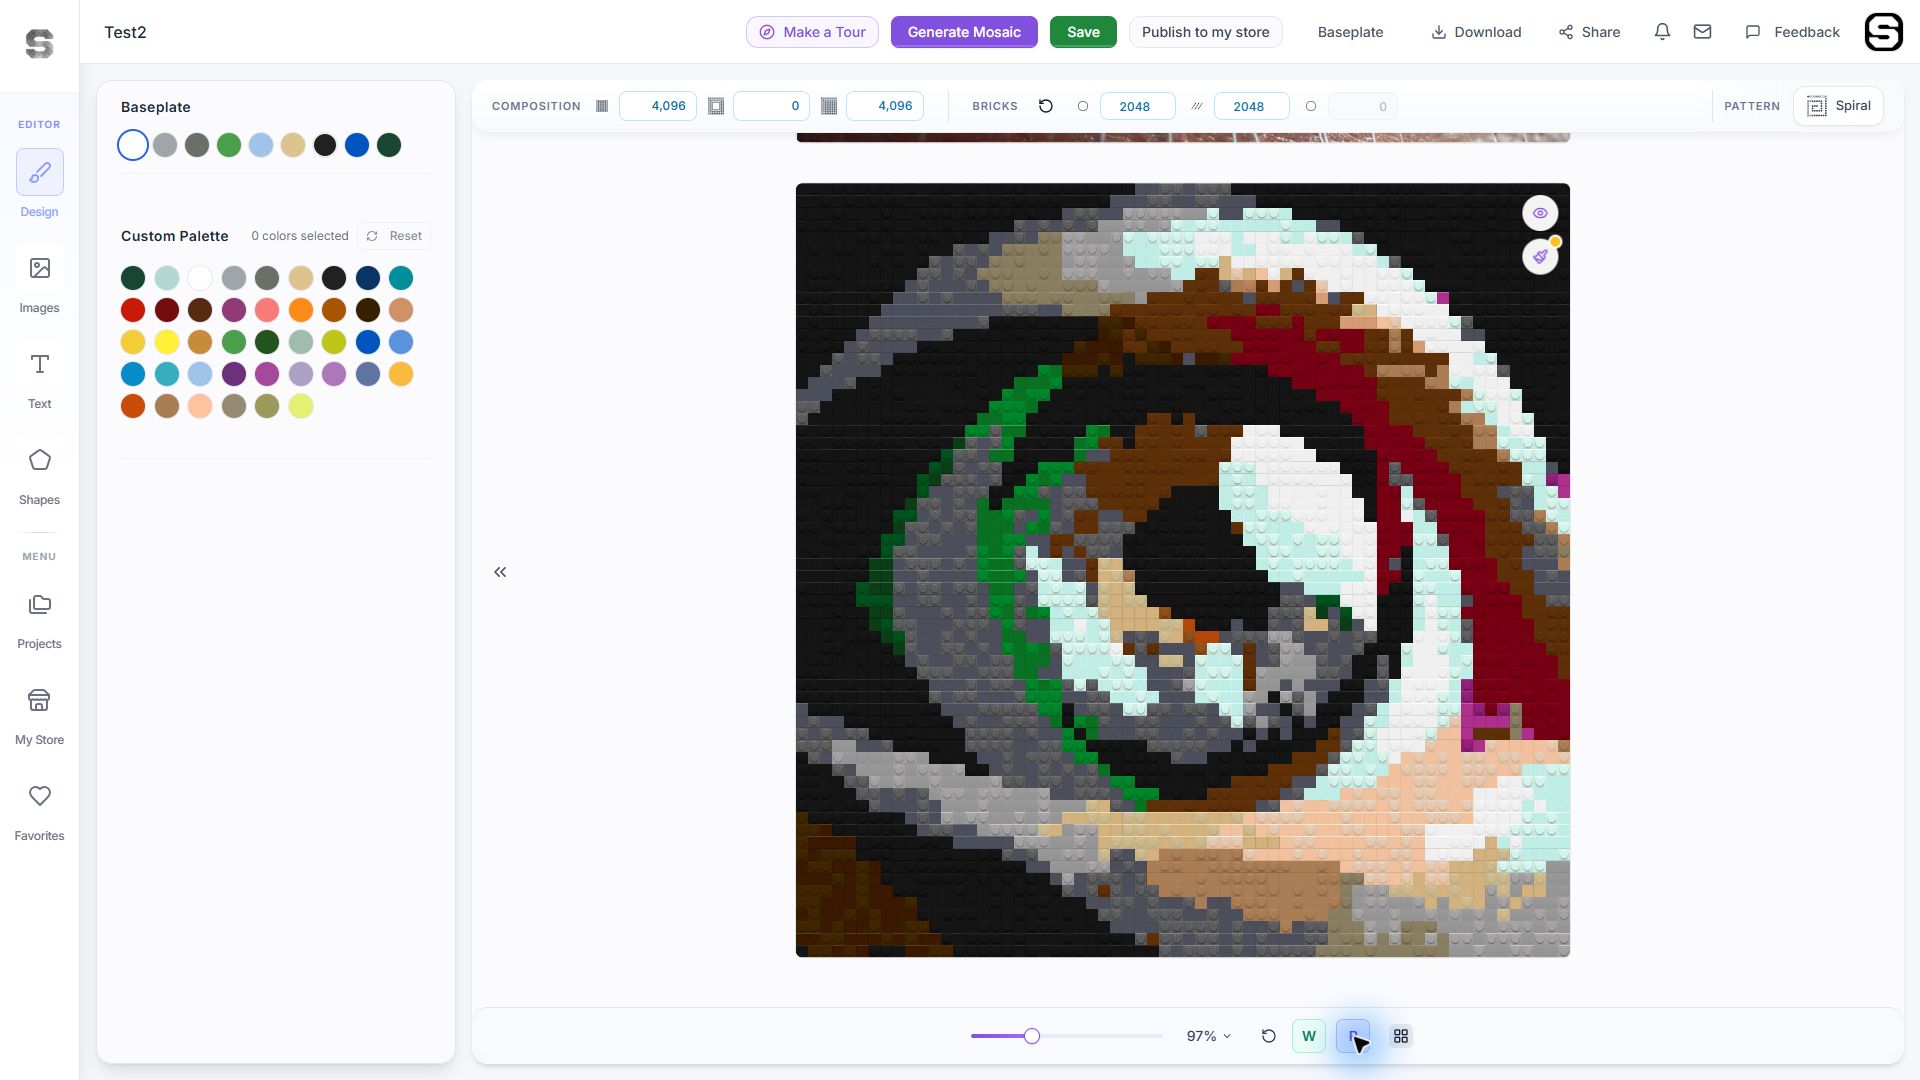
Zoom out to judge the whole picture. Then move closer to inspect its focal point. Do not spend your first editing pass on a background corner while the eyes, mouth or silhouette still need attention.
5. Refine the important areas
Use the finish controls to explore color simplification and grain reduction. Compare small changes: a setting that removes distracting speckles can also soften a small highlight or narrow line. Keep the version that better preserves the subject, rather than automatically choosing the cleanest-looking close-up.
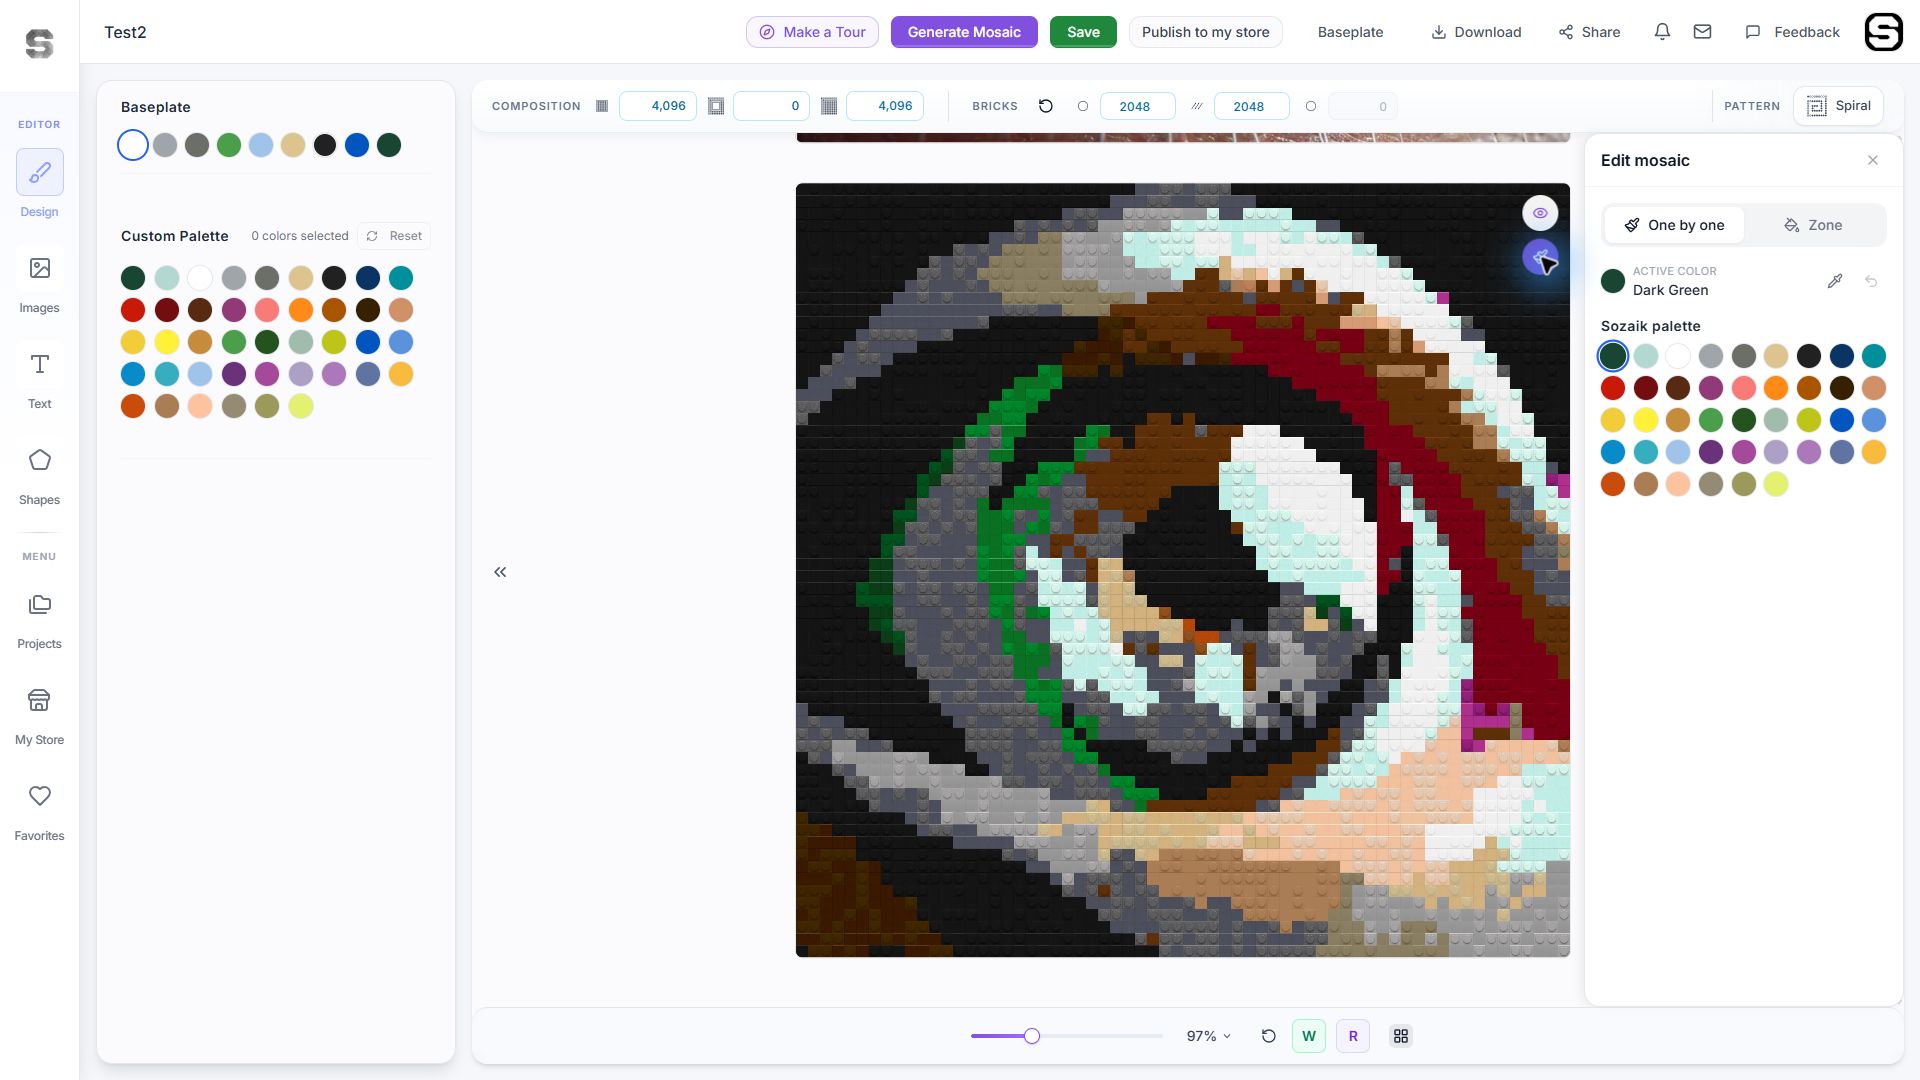
For a local correction, choose a color and work in One by one mode. Use Zone when a larger region needs attention. Recheck the full image after changing a feature: one color can look right by itself and too strong in the complete portrait.
6. Save the version you intend to use
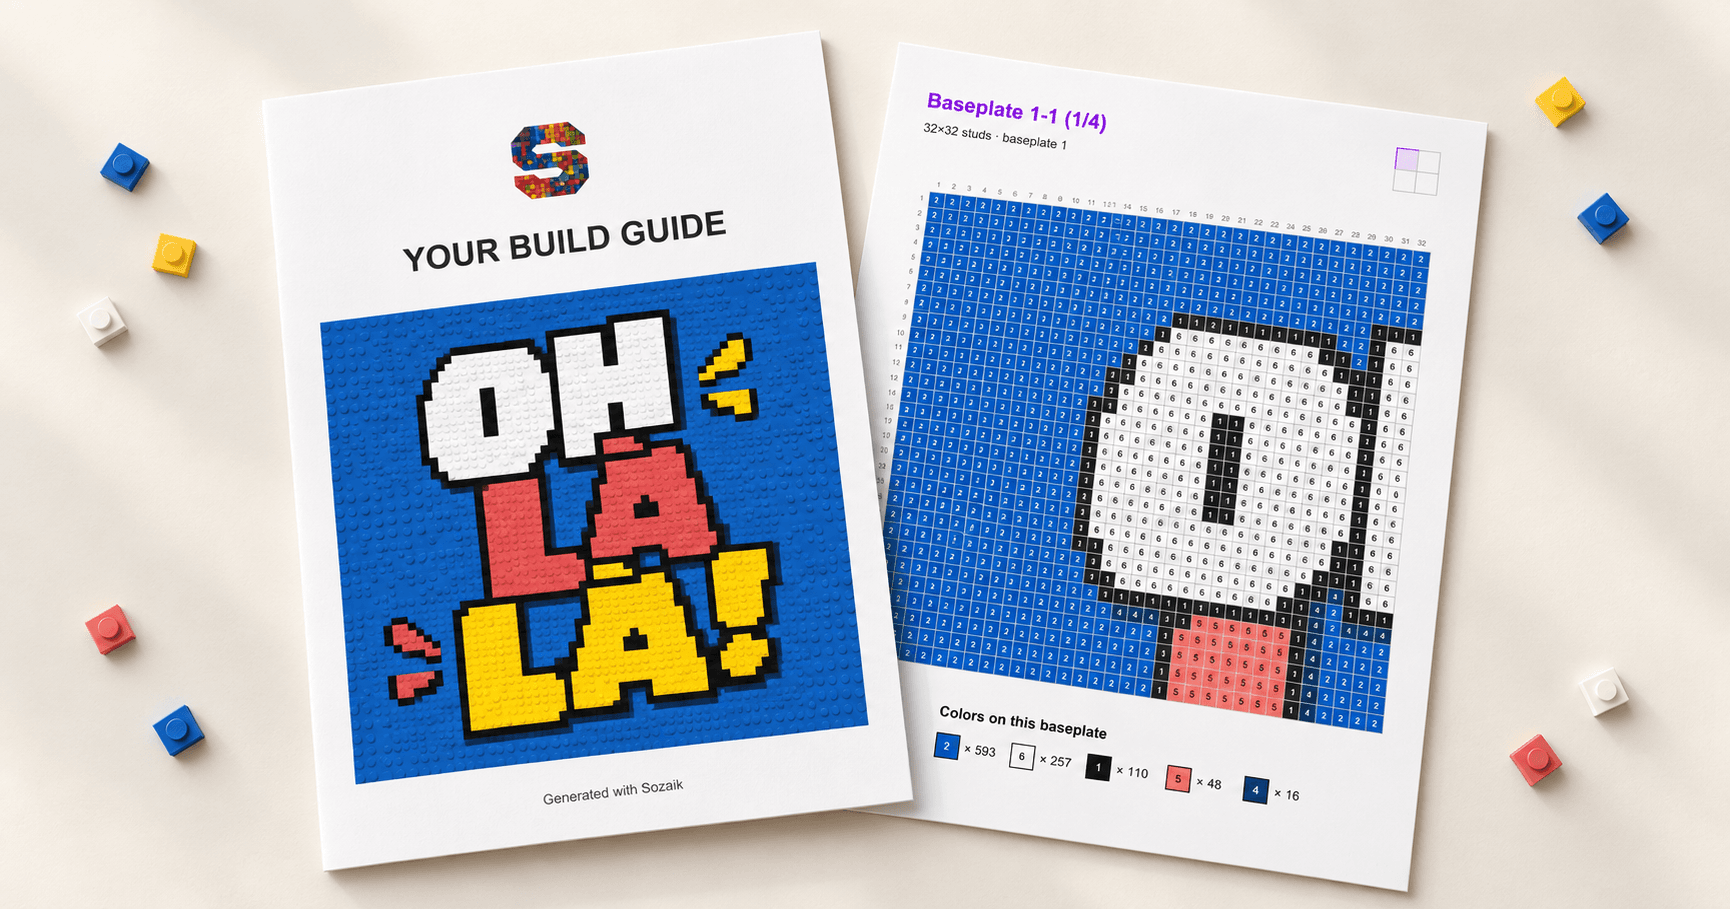
Once the crop, palette and local edits work together, save the project. Before using a download or building output, review the final design and the information supplied with that output. Make your parts plan from the version you actually intend to assemble.
A preview is not a shipment of bricks. If you buy a community design instead of making your own, read its deliverable carefully: a downloadable construction guide and a physical product are different purchases.
A final check before you call it finished
- Recognition: can you identify the subject when the preview is small?
- Focal point: do the eyes, expression or defining outline still work?
- Color: do isolated bright or dark cells distract from the subject?
- Scale: does the format fit the display and build you have in mind?
- Version: is the saved project the one you want to use next?
Do you need a large photo to make a good mosaic?
You need enough image clarity to see the features you want to keep. Beyond that, the final grid and the crop are often more important than file size alone. A sharp, tightly framed subject is a better starting point than a large image with the subject lost in the distance.
Can you improve a mosaic after generating it?
Yes. In Sozaik Studio, you can review finish choices and edit the mosaic manually. Treat generation as the beginning of the review process, then refine the details that matter to your image.
Open Sozaik Studio and try your first image. If you share it in the Community, include the design choice you are testing so other makers can give useful feedback.

0 comments
to join the discussion.